Making Trophies for our Flag Frenzy Summer Camps!
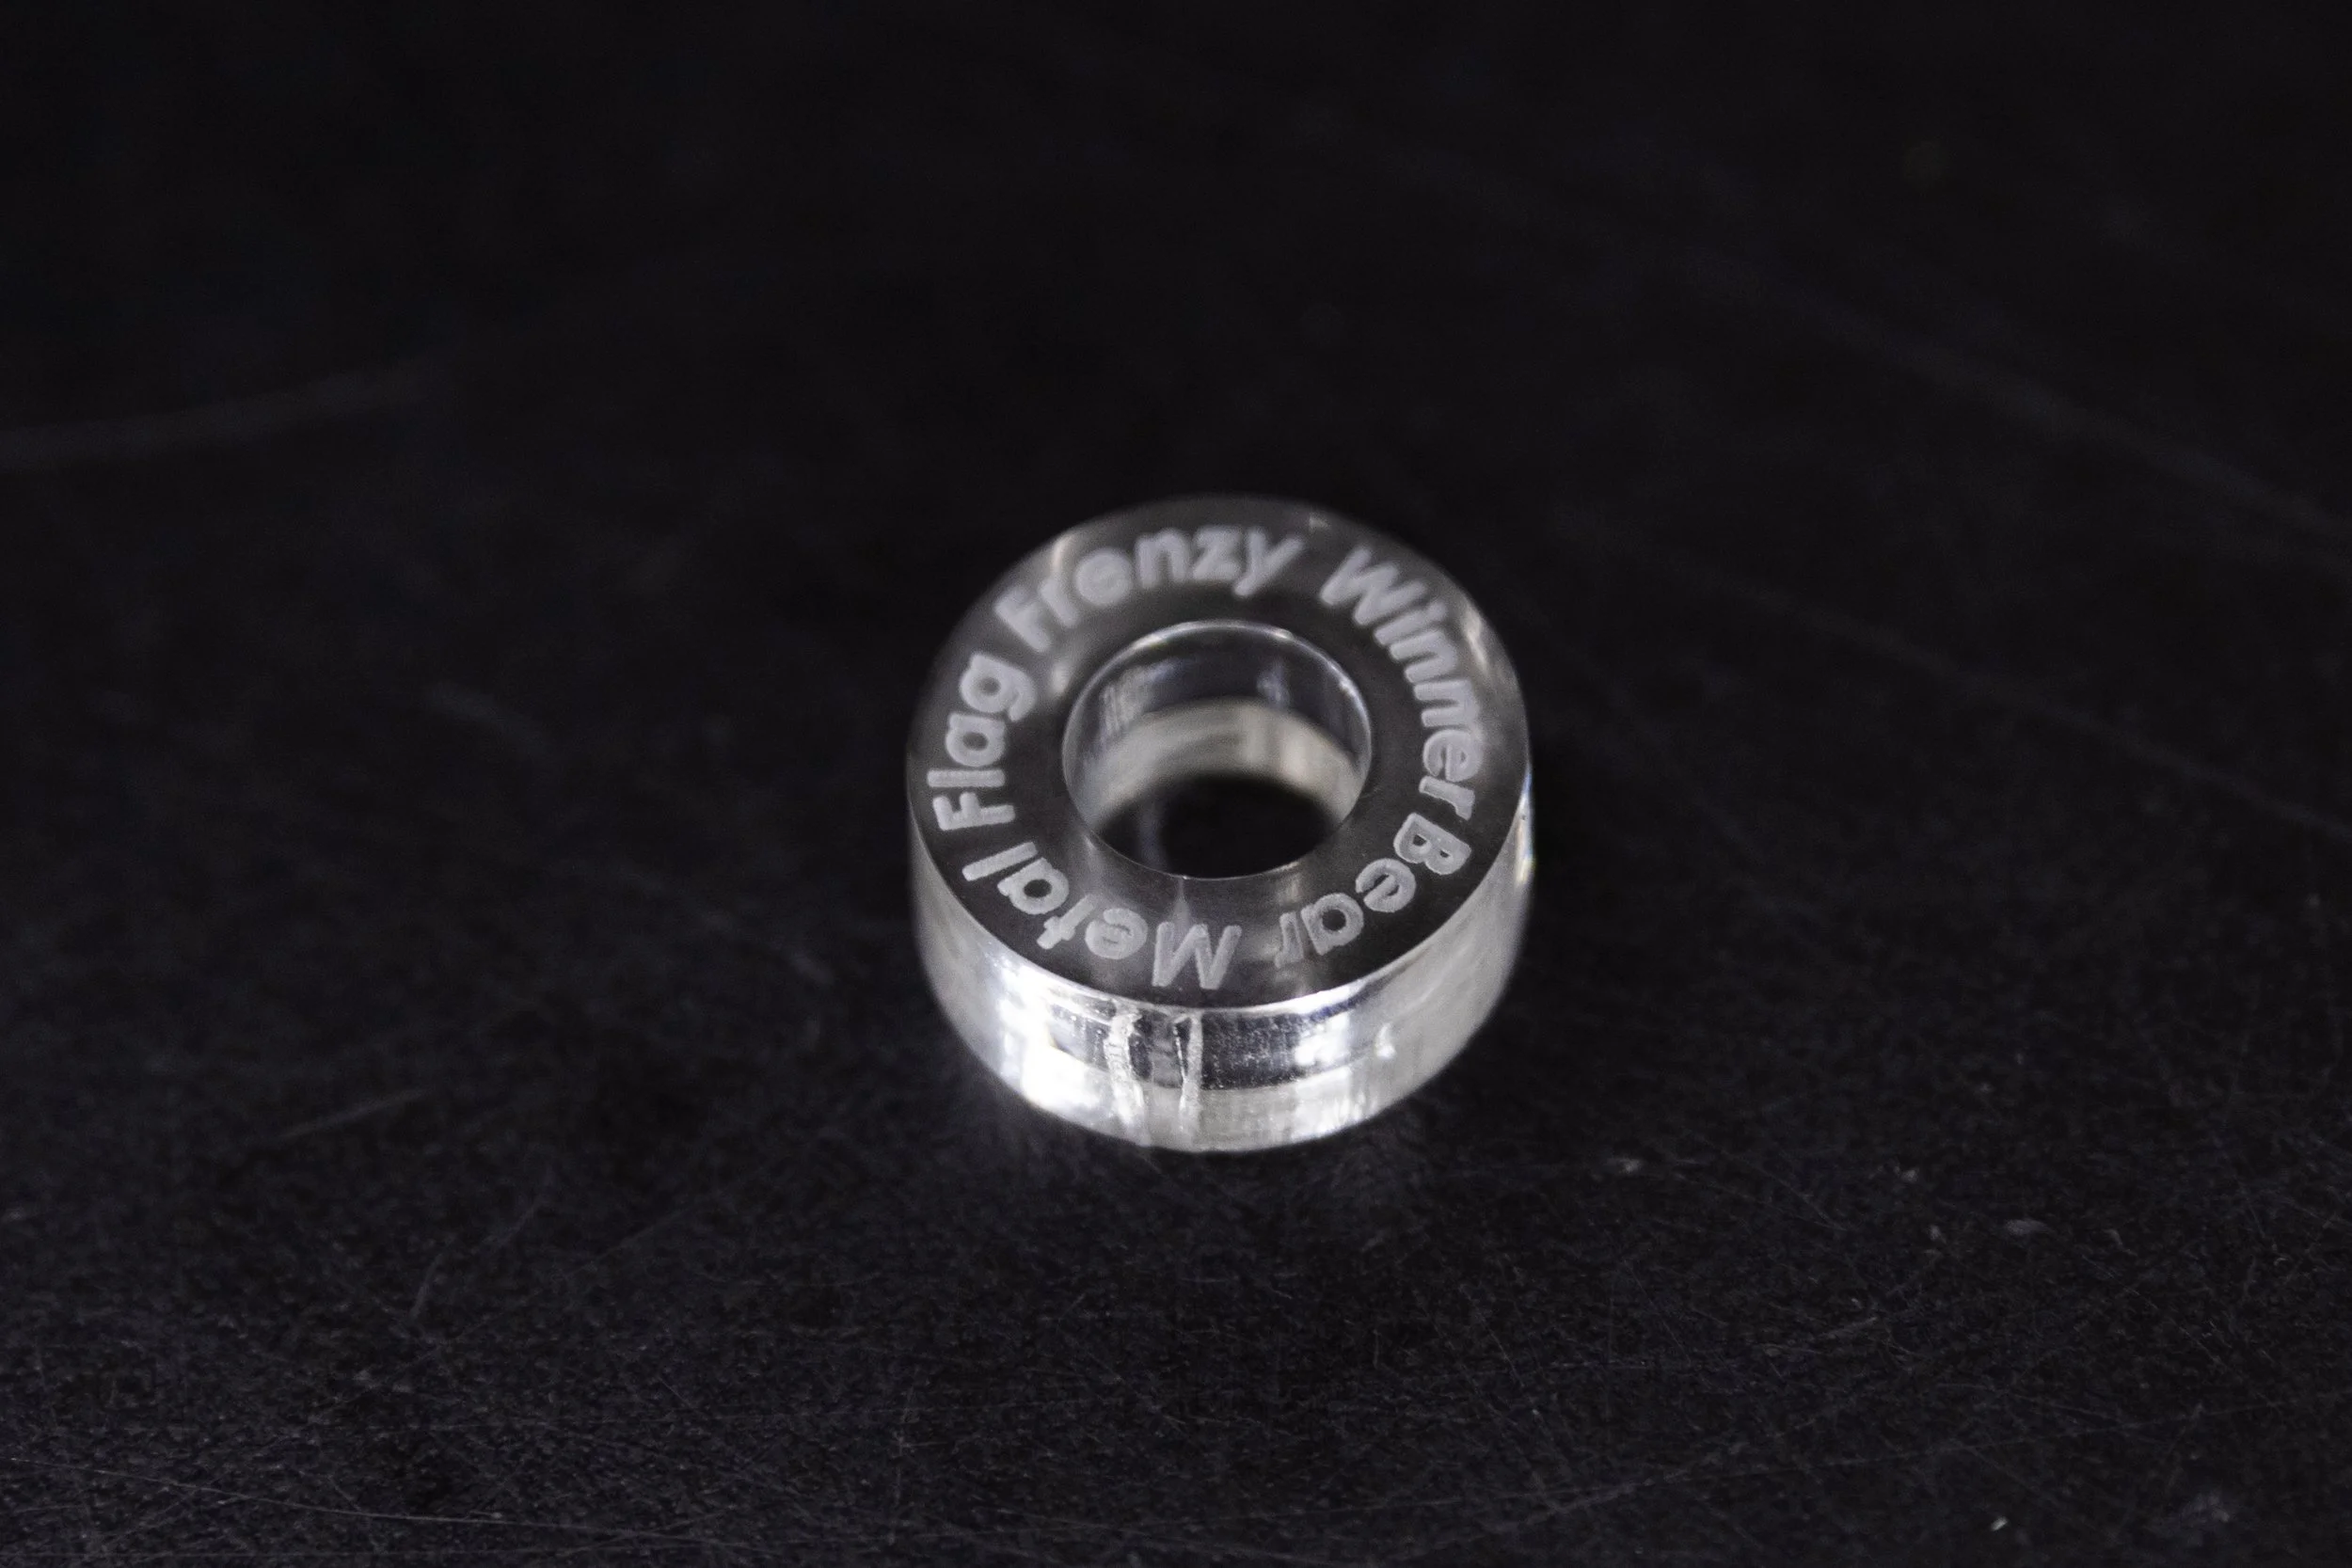
The first part of making a trophy is the design. This isn't particularly technical so it won't be described in great detail. Some things to consider are trophy quality, shape, weight and feel. For our trophies we decided to use Markforged's Onyx carbon fiber nylon plastic filament, 3/8" clear acrylic, and a brass body. After the trophy is designed, we fabricated it using a variety of machines, the first of which was 3D printing the plastic flag parts, after which we could laser cut and engrave the acrylic bottom stand. For our hourglass-shaped brass, we cut our stock on a manual lathe so that we could do our first operation in the mill. The first operation in the mill consisted of a two drills of different sizes and a small bit of 3D milling to get the top inner profile of the brass body just perfect. Once this is done, we can put this stock into our CNC lathe and run our outside profiling and cutoff operation. After the fabrication was finished, we could easily assemble the trophies by screwing the plastic flag into the brass body with a 10-14 thread forming screw and using epoxy to glue the acrylic base onto the brass body.
After all of this, we finally had a set of trophies for our Flag Frenzy camp!


